

Welcome: this article offers a clear guide to making the right choice for your level, needs, and expectations.
The tongue drum is an intuitive melodic percussion instrument, perfect for starting to make music or for relaxation sessions. Sizes often range from 15 to 36 cm, and models have between 6 and 15 notes.
This article covers the key criteria: learning goals, skill level, compatibility with your instrument, teaching formats, and support. It also discusses diatonic and pentatonic scales, 440 and 432 Hz tuning, and materials: steel, stainless steel, nitrided steel, and titanium alloy.
You will find an overview of common brands—Beat Root, RAV Vast, Moozica, Hapi, Zenko, and Rammerdrum—along with practical advice on listening to a demo or trying a sample lesson before buying.
Understand your learning goal before choosing a course
Before investing in a course, clarify how you mainly want to use your instrument.
Decide whether your goal is relaxation, an introduction to music, performing pieces, or composing. This will guide your choice of course format and length.
For structured musical progress, choose a full diatonic scale. For intuitive playing focused on well-being, a pentatonic or Akebono scale lets you improvise without clashing notes.
“Clarifying your expectations makes it easier to choose the content and teaching resources.”
- If you want to develop your technique, choose modules with live feedback and corrections.
- For occasional playing, short videos and standalone lessons are a better fit.
- To play in a group, check that your instrument’s 440 Hz tuning matches the other instruments.
Think ahead about the resources you need: PDFs, slow-motion playback, and views of the hands from several angles make learning easier. Finally, fit the time required for the course into your schedule so you can make steady progress.
Assess your level and needs: beginner, intermediate, or advanced
Start by identifying your current level so you can choose a suitable course. This will guide the format, length, and types of exercises you need.
Beginner: getting started, intuitive playing, relaxation, and first rhythms
For a beginner, choose a simple instrument with 6 to 8 notes. This makes learning easier and lets you improvise without difficulty.
Look for a program with step-by-step instruction, basic exercises, and slow rhythm practice.
Intermediate or advanced: melodies, accompaniment, composition, and group playing
More experienced musicians will benefit from an instrument with 11 to 15 notes. This opens up sheet music for familiar pieces and the basics of harmony.
Choose lessons that include accompaniment, composition, and group work to keep progressing.
Adapt the course to the learner’s age: children and adults
For children, choose an instrument with no more than 11 notes and short, playful, visual lessons. Slow demonstrations and color-coded markers make the notes easier to remember.
Adult beginners can choose up to 15 notes to expand their repertoire without feeling limited later on.
- Identify your level: progress through clear stages.
- Match your level to the instrument: 6 to 8 notes for intuitive playing; 11 to 15 notes for popular songs.
- Understand the difficulty: more tongues increase both complexity and cost.
| Learner | Recommended number of notes | Learning priorities | Main benefit |
|---|---|---|---|
| Child beginner | 6 to 11 | Short lessons, visual markers | Ease and enjoyment |
| Adult beginner | 8 to 15 | Step-by-step progress, exercises | Wider repertoire |
| Intermediate or advanced | 11 to 15 or more | Melodies, accompaniment, harmony | Musical versatility |
Choose the right instrument for an online course
A good instrument improves both the learning experience and the quality of the sounds you produce.
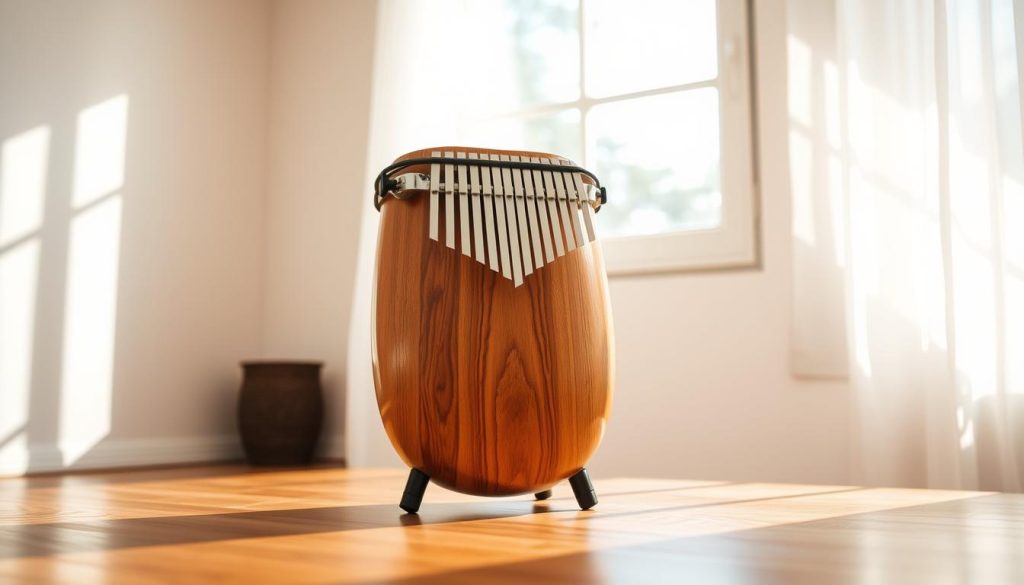
Number of tongues and layout
6 to 8 tongues: an ideal layout for intuitive playing and improvisation. Beginners can progress quickly without harmonic clashes.
11 to 15 tongues: a layout you need if you follow tutorials for familiar songs. This higher number of notes broadens your repertoire.
Size and resonance
Choose a size between 10 and 14 inches (25 to 36 cm). This range provides longer sustain and richer low notes.
A larger instrument size increases resonance and suits relaxation or recording.
Materials and durability
Steel gives the sound warmth and depth. Stainless steel is lighter and produces a brighter sound. Nitrided steel resists impacts. Steel-titanium alloys offer a good balance of sound and weight.
Useful accessories
“Mallets, finger rings, a case, and note stickers make it easier to learn and follow lessons.”
- Mallets and finger rings for different playing styles.
- A case and carrying bag to protect the instrument.
- Stickers to identify notes quickly during lessons.
In short, match your instrument to your course: the right choice makes every lesson more effective and enjoyable. A suitable tongue drum transforms your practice.
Essential criteria for an online tongue drum course
A good learning program often makes the difference between stalled progress and rapid improvement.
Structured teaching
A clear progression, defined goals, and suitable exercises are essential. Choose a program that sets out each stage and provides sheet music or tablature suited to the number of notes on your instrument.
Formats and resources
Choose HD videos with slow-motion playback and views of both the right and left hands. Downloadable PDFs let you practice offline.
Support and feedback
Good support includes an active community, live sessions, and personalized corrections. Being able to message the instructor speeds up learning and helps you stay motivated.
Instrument compatibility
Check the required scale and number of notes. Some modules require a full diatonic scale; a pentatonic or Akebono scale may limit which melody tutorials you can follow.
Useful features: models with two sets of tongues (Moozica) extend the range. Tongues tunable with magnets (Beat Root) let you change scales.
“Always check the scale, number of notes, and technical requirements before buying.”
- Look for goals for each module and sheet music suited to your number of notes.
- Ask for videos with slow-motion playback and clear views of the hands.
- Check whether live support and corrections are available.
Scales, frequencies, and keys: what your course should cover
Knowing how to distinguish keys and tunings helps you choose a course suited to your goals.
Major and minor: a major scale (C, D, F) sounds warm and bright. A minor scale creates a more melancholy, introspective mood. A major scale is often preferred for playing pieces and following melody lessons. For relaxation and meditation, a minor mode can add emotional depth.

Pentatonic, diatonic, and chromatic scales
The pentatonic scale has 5 notes that avoid harmonic tension. It suits intuitive playing workshops and improvisation.
The diatonic scale (7 notes) lets you play a varied repertoire and follow conventional sheet music. Courses focused on familiar songs generally require this choice.
The chromatic scale (12 notes) is rare on this instrument and uncommon in courses. It requires more playing surfaces and makes learning more complicated.
440 Hz and 432 Hz: music, well-being, and compatibility
Tuning to 440 Hz is the Western standard. Choose it if you play with other musicians or standard backing tracks.
Some people associate 432 Hz with well-being and meditation. It can be less compatible with group playing and is sometimes more expensive.
“Always listen to demos in the scale and tuning required by the course to hear the instrument’s character.”
| Aspect | Characteristics | Recommended use | Practical effect |
|---|---|---|---|
| Major scale | Warm, cheerful | Melodic pieces | Clear sound, easy to follow |
| Minor scale | Melancholy, introspective | Meditation, relaxation | Deeper mood |
| Pentatonic and diatonic | 5 and 7 notes | Intuitive workshops and varied repertoire | Simplicity and versatility |
| 440 Hz and 432 Hz | Standard and well-being focused | Group playing, yoga, and meditation | Compatibility and tonal character |
Playing techniques taught: fingers, mallets, and expression
Mastering your movements changes the way the instrument sounds. Good courses clearly show when to play with your fingers or mallets and why each approach produces a different tone.

Playing with your fingers
Benefits: subtle expression, ghost notes, and control over harmonics. Finger playing allows precise articulation at slow to moderate tempos.
Playing with mallets
Mallets increase volume and projection. They offer strong rhythmic precision, but you need to control the resonance to avoid an overly metallic tone.
Recommended teaching methods: look for a course with resonance-control exercises (damping and muting) and videos showing close-up views of the hands.
- Work on your striking angle and posture to protect your hands.
- Try finger rings and mallets of different hardness to vary the sound.
- Switch between fingers and mallets to suit the style, from relaxation to fast melodies.
“Precise movement makes all the difference between a flat sound and an expressive performance.”
A good course demonstrates these techniques on your tongue drum and adapts the exercises to your instrument so you can make effective musical progress.
Online tongue drum lessons: how to choose the right course
Before you commit, define your main aim: meditation, an introduction to music, or learning familiar songs.
Meditation and relaxation: choose a larger instrument (12 to 14 inches) for better resonance and gentle low notes. Online selection tools often list the diameter, key, and number of notes.
Introduction to music: look for short, playful modules with visual markers and simplified sheet music.
Popular songs: some courses require a full diatonic tongue drum. Check the note layout before buying.

Examine a sample course
Review the goals and time commitment: what is expected each week? How much time should you devote to practice? Ask for details of the modules and resources provided.
Check demos and previews
Watch YouTube previews for each model. Check the sound quality, clarity of the explanations, close-up views of the hands, and availability of PDFs and slow-motion playback.
- Define your aim: relaxation, introduction to music, or playing songs.
- Check the goals: each module’s content and weekly workload.
- Request previews: sound, views of the hands, and PDFs.
- Check the instrument: full diatonic scale and number of notes.
- Consider the size: resonance and ease of transport.
“Always test a demo with the same tuning and instrument size as yours.”
Brands and models: choose a course suited to your instrument
The manufacturer you choose directly affects the instrument’s tone and its compatibility with lessons.
A quick look at the brands
Beat Root stands out for tongues tunable with magnets, which let you change scales and vary your repertoire.
RAV Vast offers exceptional resonance and harmonics similar to those of a handpan.
Moozica makes models with two sets of tongues, often tuned an octave apart to extend the range.
Hapi and Zenko are reliable choices, depending on your budget and their availability.
Rammerdrum focuses on Italian craftsmanship and a carefully developed sound.
How the model affects learning
A model with two sets of tongues extends the range and makes it easier to follow modules that require more notes. Models whose scales can be adjusted with magnets suit different repertoires.
The number of tongues affects the price: more tongues mean a higher cost. Budget €400 to €500 for some models with multiple scales.
Always check the compatibility specified by the instructor, and listen to official demos as well as recordings made by users.
- Confirm the scale and minimum number of notes required by the course.
- Listen to several recordings to assess the consistency of the sound.
- Plan your budget around the model you choose.
Platforms and formats in France: where to find a good course
To find a suitable course, start by looking at blogs and platforms that list models, selection tools, and video demos.
Specialist sites often offer filters for diameter, key, and number of notes. They also provide free tutorials and song libraries to help you get familiar with the instrument quickly.
Retailers and marketplaces list key specifications: size (inches and centimeters), scale, tuning frequency, and number of notes. Listen to YouTube demos and read customer reviews before buying.
What to check before enrolling
Check the available resources: downloadable PDFs, slowed-down videos, and lesson previews. Favor platforms that offer a free trial or a clear refund policy.
“Listen to the same key and check the product specifications to ensure compatibility with your instrument.”
- Use selection tools that filter by diameter, key, and number of notes.
- Try demos and previews before paying for access.
- On marketplaces, read the product specifications and user reviews carefully.
- Build your knowledge with specialist blogs and free tutorials.
| Resource | Strengths | What to check |
|---|---|---|
| Specialist course sites | Filters, structured tutorials, PDFs | Free trials, required number of notes |
| Specialist blogs | Guides, comparisons, theory | Recent updates and sources for reviews |
| Marketplaces and retailers | Wide selection, specifications, reviews | Demo quality, scale and size compatibility |
Budget, offers, and value for money
Setting a clear budget helps prevent unpleasant surprises after buying an instrument or course. Consider the total cost: instrument, accessories, and any subscription for teaching support.
Price ranges
You can find free options on YouTube that are useful for getting started. Entry-level instruments start at around €50; €200 is common for larger instruments or those with more notes.
Expect to pay €400 to €500 for a model with multiple scales. High-end instruments can cost more than €1,000. Paid course prices vary according to the amount of content and support provided.
Instrument, course, and accessory bundles
A bundle can be good value, but check the instrument’s actual quality before buying. A good bundle includes mallets, a case, access to PDFs, slow-motion videos, and a support group.
Be wary of low-cost bundles: a poorly tuned instrument could force you to buy another one. Allow for the cost of a more advanced instrument if your playing develops.
Trial periods, cancellation, and refunds
Look for free trials and a clear refund policy. The legal right to cancel often applies to distance purchases in France: read the terms before buying.
“Compare free options, then choose a course whose price is justified by the support and resources provided.”
- Compare free videos, subscriptions, and premium lessons with personalized feedback.
- Assess value for money: PDFs, slow-motion playback, views of the hands, and corrections.
- Budget for accessories and a possible instrument upgrade as you progress.
Try before you buy: a quick checklist
Trying several models remains the best way to assess their resonance and harmonic richness.
Points to check:
- Watch YouTube demos of the exact model and key required by the course.
- Listen for note clarity, how long the sound resonates, and the balance of harmonics.
- Check the number of notes, scale, and tuning frequency (440 or 432 Hz) to ensure compatibility with the course.
- Check the size (inches and centimeters), access to the playing surfaces, and comfort if you often carry the instrument.
- Read reviews to assess quality, tuning stability, and material durability.
- Confirm which accessories are included: mallets, finger rings, a case, and note markers for lessons.
“Always compare instruments in the same key and tuning to avoid misleading differences in perception.”
| Criterion | What to check | Effect |
|---|---|---|
| Sound | Clarity, harmonics | Ability to follow pieces |
| Resonance | Length of sustain | Suitability for meditation or performance |
| Ergonomics | Size, weight, access | Playing comfort |
| Accessories | Mallets, case | Ready for lessons |
Before any purchase, write down your priorities and compare instruments in person or through precise recordings.
A 5-step plan for finding your ideal course
Finding the right course starts with a simple, practical plan. Follow these steps to make your choice without wasting time or money.
-
Define your aim and level
Clarify your intended use: relaxation, an introduction to music, or learning songs. Assess your level so you can find a suitable course.
-
Choose a compatible instrument
Check the number of notes, the scale, and the tuning frequency. Specialist sites recommend a diatonic instrument for following most modules.
For relaxation, choose a 12- to 14-inch instrument for better resonance.
-
Listen to demos
Listen to recordings of the model and key you want. Make sure you like the tongue drum’s sound and that it meets your needs.
-
Try a free module
Try a preview to assess the teaching style, pace, and time required. Check the quality of the PDFs, slow-motion playback, and views of the hands.
-
Check support and guarantees
Make sure you can get regular feedback, access an active community, and rely on a clear refund policy. Match your final choice to your needs and your instrument.
Complete your enrollment with a realistic practice schedule and a list of accessories (mallets, case, finger rings, and note markers). This approach helps you stay motivated and progress in learning the tongue drum.
Conclusion
In summary, a step-by-step approach makes learning easier and playing music more enjoyable.
Choose a full diatonic scale and a size of around 10 to 14 inches to follow most courses. 440 Hz tuning remains the best choice for playing with other musicians.
Always try demos and a sample module before buying. Listen to recordings from Beat Root, RAV Vast, Moozica, Hapi, Zenko, and Rammerdrum to assess their sound.
Keep this plan in mind: clear goals, instrument compatibility, quality learning resources, and ongoing support. The Global Keyword Allocation Addendum can guide your final assessment.